Key Takeaways
- Use Magic Editor to transform images with generative AI features like resizing, moving, and reframing.
- Utilize “Suggestions” for quick edits by applying presets for color, tone, and exposure adjustments.
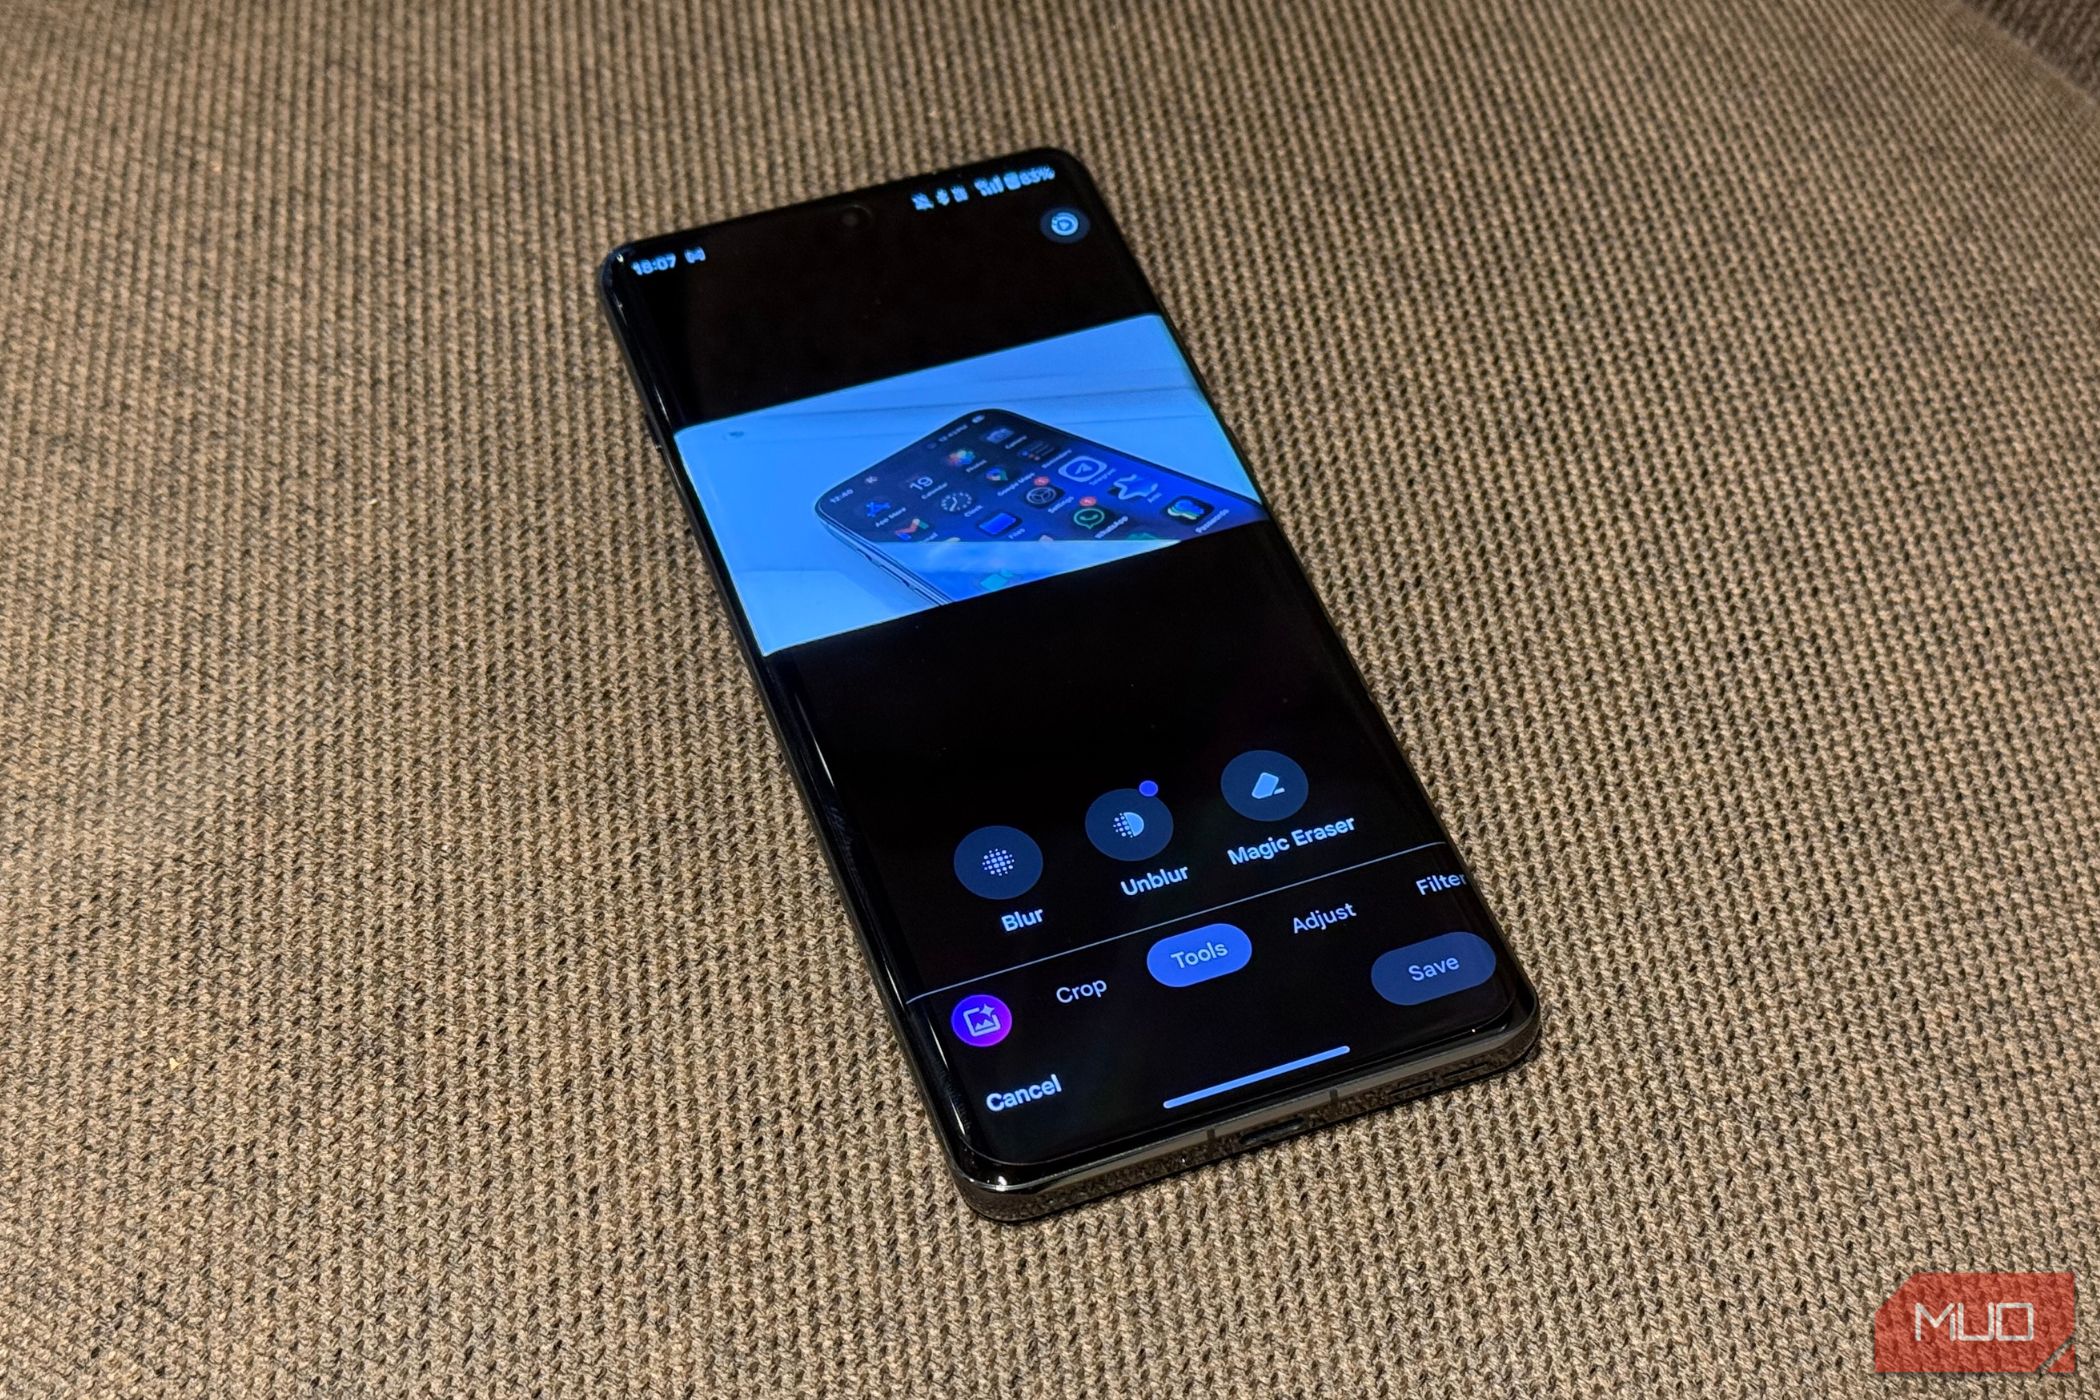
- Explore the “Tools” menu in Google Photos to blur backgrounds, remove objects with Magic Eraser, and add bokeh effects.
Google Photos comes pre-installed on most Android devices, and the recent influx of AI features and tools has made it more useful than ever. Here are four ways I use Google Photos to create better images for work or sharing with friends.
1 Use Magic Editor to Transform Your Photos
Google Photos’ ability to back up your images and make them available across your devices seamlessly is a huge drawing factor for the service. But I think Magic Editor is a bigger positive which brings a lot of value.
This generative AI feature offers a whole host of features. You can resize, move, or remove subjects from your photos. With the help of Reimagine—one of many new AI features added to the Pixel 9—you can transform aspects like the sky or the background of an image. If small bits of the image still don’t feel right, you can adjust and reframe the image with the help of Generative Fill.
This feature is available to all Google Photos users, but if you don’t have a Google Pixel device or a Premium Google One plan (2TB and above), you can only save 10 Magic Editor photos per month.
2 Use “Suggestions” for Quick Edits
If you’re short on time, getting into the Adjust tab of Google Photos’ edit menu and improving an image isn’t always an option. But with the help of Suggestions, you can quickly work on an image to get your desired look.
The Suggestions tab in Google Photos provides presets that modify colors, tone, exposure, and more with a single tap. This does most of the heavy lifting in an edit, and if you feel like some manual changes will work better, you can switch to the Adjust tab and make those changes. It can greatly reduce your time running permutations and combinations to get the perfect photo.
In the Google Photos edit menu, right before the Adjust tab, is Tools. This menu includes some of the best additions we’ve seen to the Google Photos editor: Magic Eraser, Blur, and Unblur.
Magic Eraser needs no introduction; it’s a powerful photo editing tool that removes unwanted objects from your photos. Blur and Unblur, on the other hand, are useful for adjusting the dynamics of an image.
With the Blur tool, you can introduce bokeh into your images, regardless of whether you captured the image in Portrait mode or not. If used correctly, this feature can draw attention to the subject in a photo by adding the right amount of blur to the background.
The Unblur tool is a simple—and fairly effective—way to bring clarity to old photos from your family albums or shots that ended up blurry due to a last-minute shuffle.
There’s also a Sky option in the Tool tab, another set of filters that can change how the sky looks in your photos, but I’m not a huge fan of this feature.
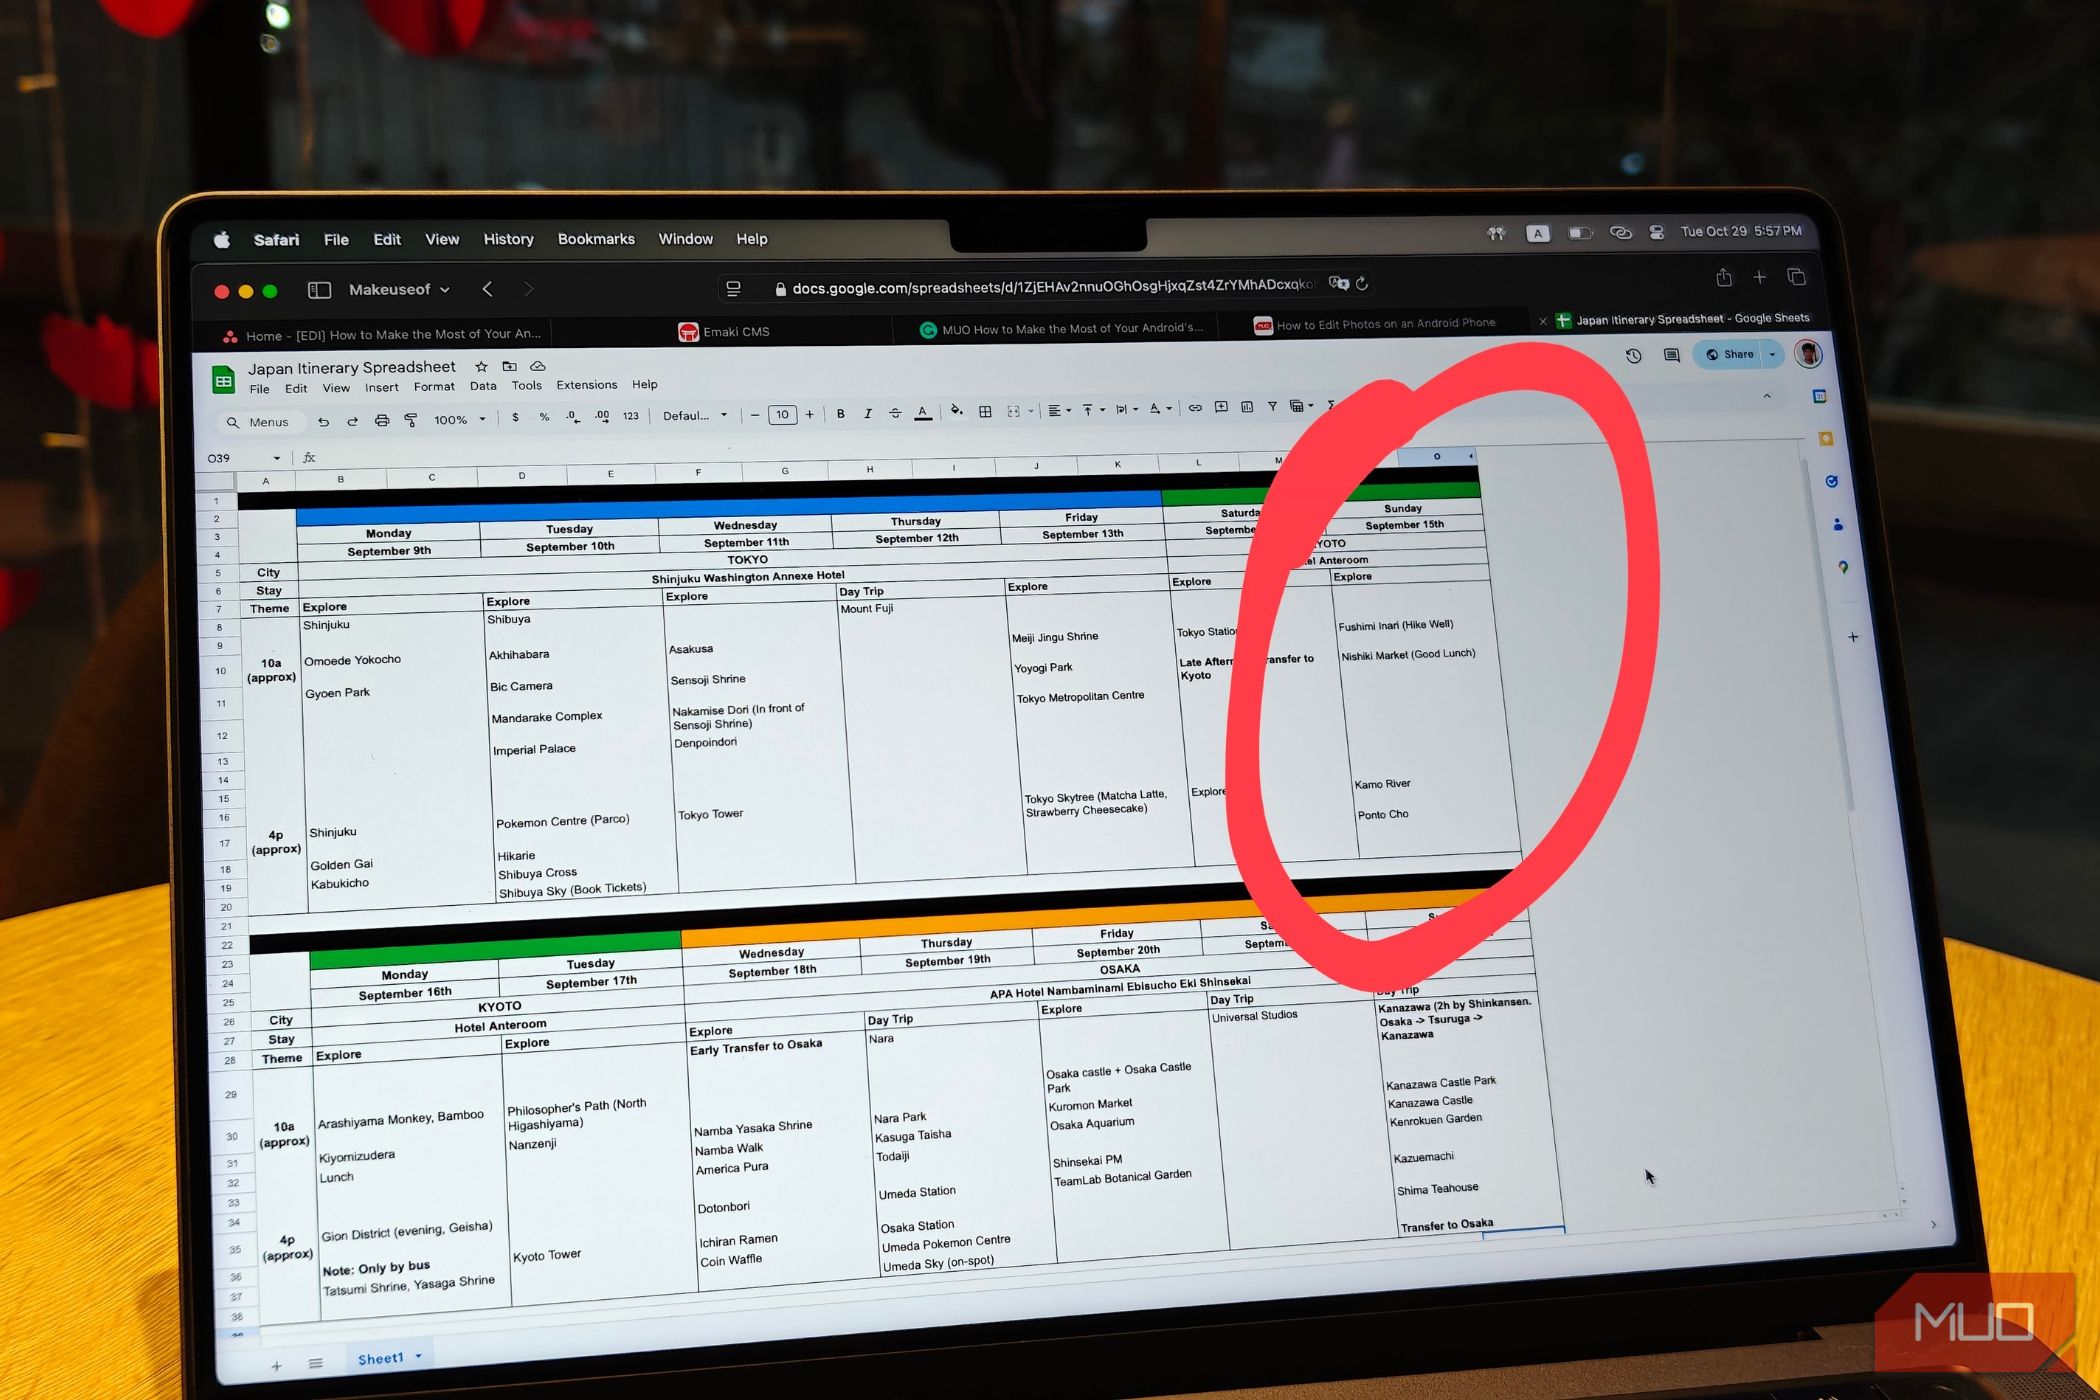
4 Use Markup for Annotations
Markup is a fairly straightforward productivity addition to Google Photos and does what its name tells you. You can use it to mark up images with text, shapes, or a highlighter. So, simply snap a photo, hit edit, and choose the Markup tool to annotate the focal point and send it across.
These features in the Google Photos app can make the images in your library much more fun or aesthetically appealing. I hope to see more valuable additions to the Photos app as Google continues to evolve its AI feature set and hardware.


